
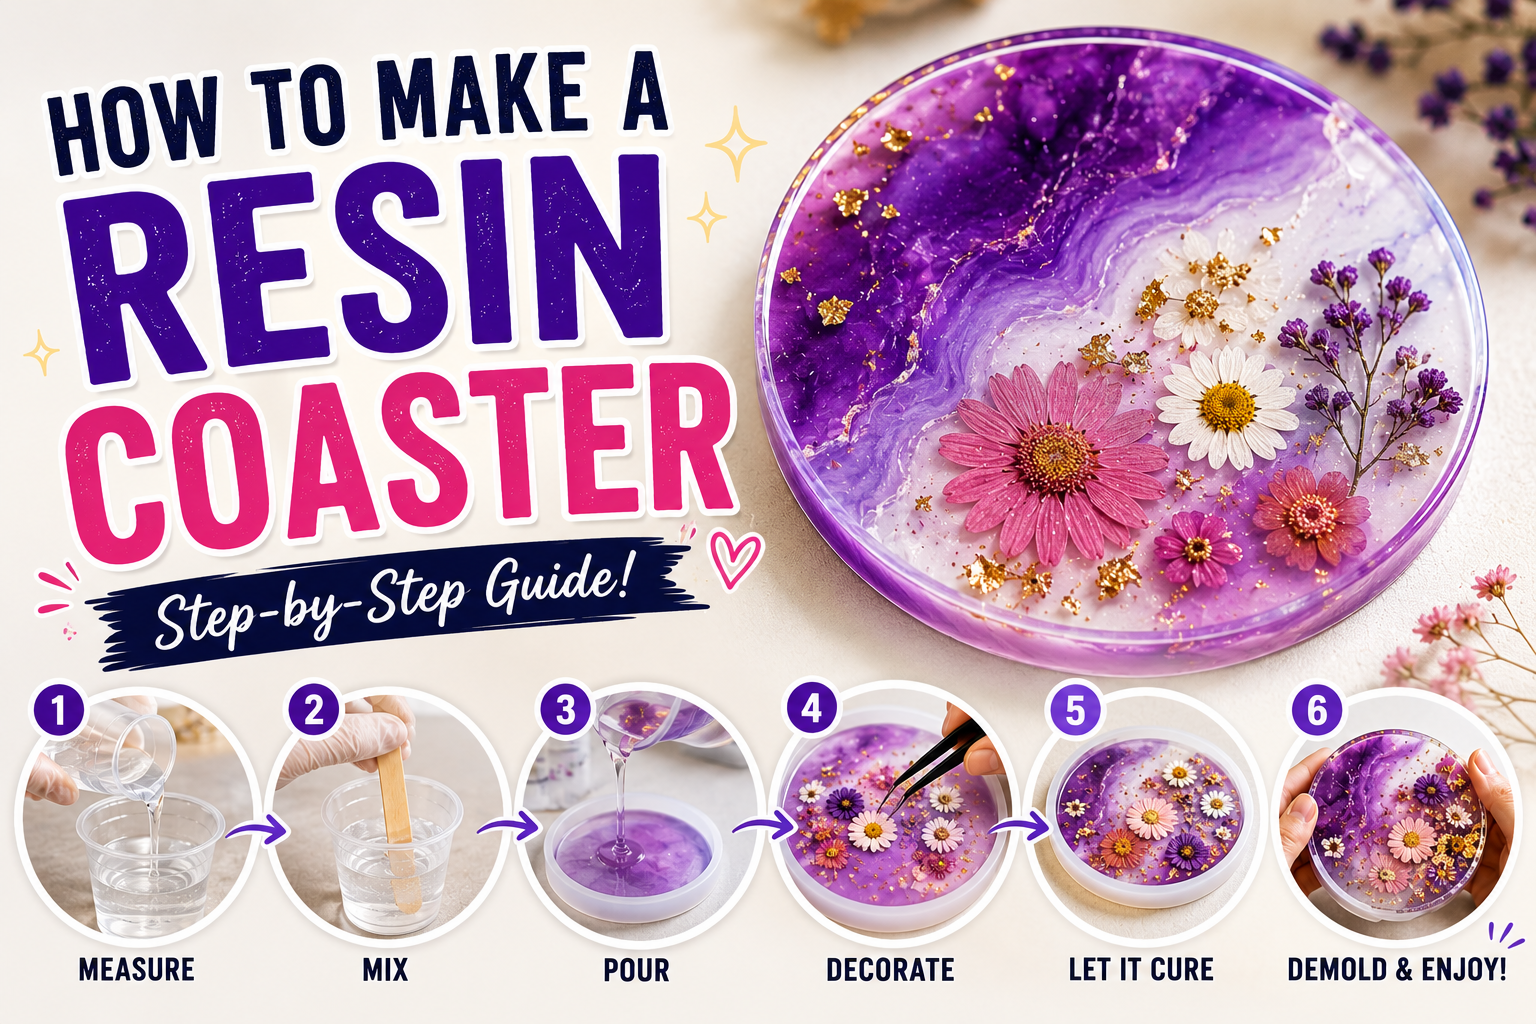
Resin coasters are a beautiful way to combine creativity with everyday home décor. They are easy to customize with different colors, glitter, metallic effects, and decorative elements. Whether you are a beginner or a resin artist, making your own coaster can be a fun and rewarding project.
In this guide, we’ll show you how to make resin coasters step by step, from preparing your workspace to removing the finished coaster from the mould.
What You Need to Make Resin Coasters
Before starting, gather all your materials:
- Epoxy resin and hardener
- Silicone coaster mould
- Measuring and mixing cups
- Wooden or silicone mixing sticks
- Resin pigments, mica powder, or alcohol ink
- Glitter or metallic flakes
- Disposable gloves
- Safety glasses
- Heat gun for removing bubbles
- Silicone mat or plastic sheet
- Toothpick or small stick for creating designs
Always check the instructions supplied with your particular resin because the mixing ratio and curing time can vary between products.
Step 1: Prepare Your Workspace
Choose a clean, dust-free and well-ventilated workspace. Cover your table with a silicone mat or plastic sheet to protect it from accidental resin spills.
Place the silicone mould on a completely level surface. A level mould helps create an even coaster.
Wear gloves and appropriate eye protection, and follow the safety instructions provided by your resin manufacturer.
Step 2: Measure and Mix the Resin
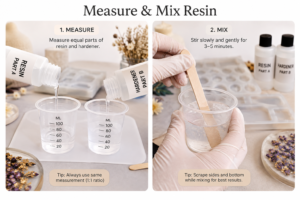
Measure the resin and hardener according to the manufacturer’s recommended ratio.
Pour both components into a mixing cup and stir slowly. Scrape the sides and bottom of the cup while mixing to make sure the two components are thoroughly combined.
Avoid vigorous stirring because it can introduce additional bubbles into the resin. Many resin guides recommend slow mixing for around 3–5 minutes, but always follow your product’s instructions.
Step 3: Add Your Favourite Colours
Now comes the creative part!
Divide the mixed resin into separate cups if you want to use multiple colours. Add small amounts of mica powder, resin pigment or suitable colourant and mix gently.
For an elegant coaster, try combinations such as:
- White + gold
- Black + silver
- Purple + pink
- Blue + white
- Transparent + gold glitter
You can also add glitter or metallic flakes for extra sparkle.
Step 4: Pour the Resin into the Mould
Slowly pour the coloured resin into your silicone coaster mould.
You can create different effects by:
- Pouring two colours side by side
- Creating a marble effect
- Making swirling patterns with a toothpick
- Adding glitter
- Creating an ocean-inspired design
- Using a transparent layer with decorative elements
Avoid overfilling the mould. Leave enough space to prevent spills and uneven edges.
Step 5: Remove Air Bubbles
Small bubbles may appear after pouring.
Use a heat gun carefully over the surface to help release bubbles. Keep the heat moving rather than concentrating it in one spot, as excessive heat can damage the resin or affect the design.
You can also use a toothpick to pop visible bubbles individually.
Step 6: Let the Coaster Cure
Once your design is complete, cover the mould to protect the resin from dust and leave it undisturbed.
Curing time depends on the resin you use. Many epoxy products can be demoulded after around 24–48 hours, while full curing can take longer. Always follow the manufacturer’s recommended curing time.
Step 7: Remove and Finish Your Coaster
Once the resin has properly cured, gently flex the silicone mould and remove the coaster.
Check the edges for any sharp or uneven areas. If necessary, carefully smooth the edges using appropriate finishing materials.
And that’s it — your handmade resin coaster is ready!
Tips for Making Beautiful Resin Coasters
✨ Always measure resin and hardener accurately.
✨ Keep your workspace clean and level.
✨ Mix slowly to reduce bubbles.
✨ Use colourants sparingly and follow the resin manufacturer’s recommendations.
✨ Don’t rush the curing process.
✨ Experiment with different colour combinations and patterns.
✨ Keep children and pets away from the resin workspace.
Common Resin Coaster Problems
Why is my resin coaster sticky?
Sticky resin can result from an incorrect mixing ratio, insufficient mixing, or unsuitable curing conditions. Check your resin manufacturer’s instructions and ensure both components are measured and mixed correctly.
Why do my coasters have bubbles?
Bubbles can be introduced during mixing or pouring. Stir slowly and use a suitable heat gun carefully after pouring to help release surface bubbles.
Can resin coasters handle hot cups?
Resin coasters can be suitable for everyday drinks, but heat resistance varies by product. Check your resin manufacturer’s specifications and avoid placing extremely hot cookware directly on the coaster.
Final Thoughts
Making resin coasters is a wonderful way to turn simple materials into unique pieces of handmade art. From elegant marble designs to colourful glitter effects, every coaster can have its own personality.
The best part? There are no limits to your creativity.
Start with simple colours, experiment with different techniques, and gradually create your own signature resin style.
Want beautiful handmade resin décor without making it yourself? Explore the handcrafted creations from [the.resindiaries] and find a piece made to add a little art to your everyday moments.